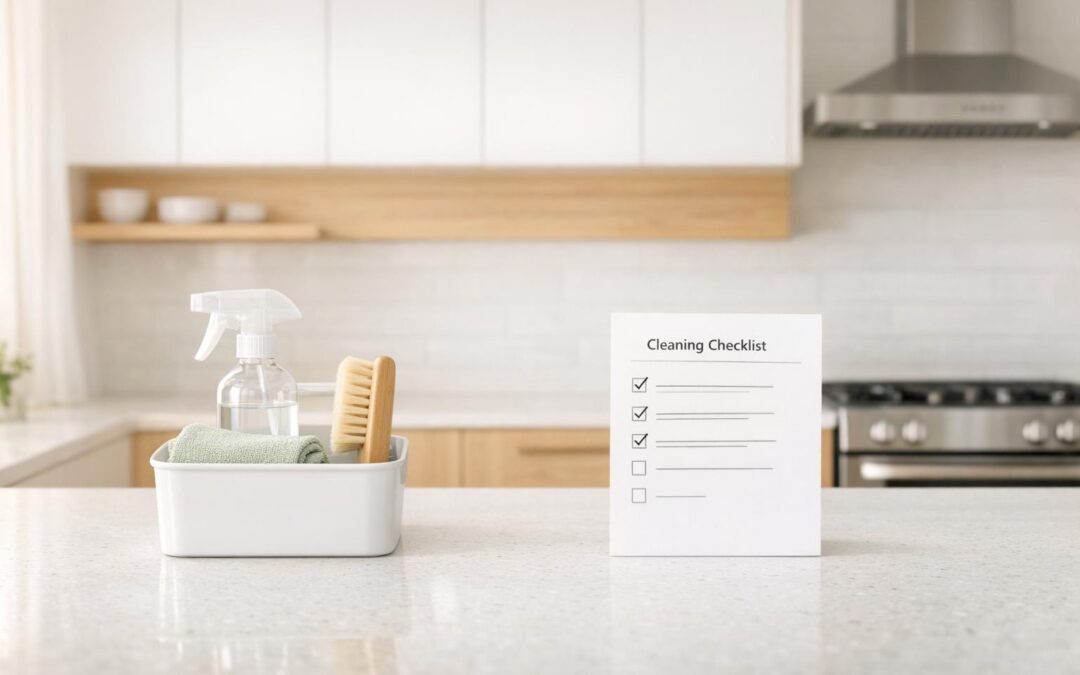
Spring cleaning can sometimes feel more like a daunting chore than an exciting seasonal refresh, especially when it comes to the heart of the home – the kitchen. From small appliances to floors and everything in between, the kitchen presents a unique challenge due to its high-traffic usage and build-up of grease, grime, and food residue.
In this comprehensive guide, we’ll walk you through practical, professional methods to deep-clean your kitchen. With expert advice and proven strategies, you’ll learn how to clean smarter, not harder, and transform your kitchen into a space that feels fresh, inviting, and sanitized. Let’s dive in and tackle the mess, step by step.
Why Deep-Cleaning Your Kitchen Matters
A clean kitchen isn’t just about aesthetic appeal – it’s about maintaining hygiene, preventing unpleasant odors, and protecting your appliances and surfaces from damage caused by neglect. From the toaster to the refrigerator, every part of your kitchen requires attention to ensure it functions properly and remains a healthy space for you and your family.
sbb-itb-5fea4da
Step 1: Start with Small Kitchen Appliances
Small appliances like microwaves, coffee makers, and toasters often get overlooked in day-to-day cleaning routines. Start your deep-cleaning process here:
Cleaning the Microwave
- Steam Clean for Easy Removal of Grime: Fill a microwave-safe bowl with 1 cup of water, 1 cup of white vinegar, and a few slices of lemon. Heat the bowl in the microwave for 5 minutes to create steam that loosens baked-on food.
- Wipe Away Residue: Use a damp microfiber towel or scrub sponge to clean the interior. Dry with a clean towel for a streak-free finish.
- Don’t Forget the Exterior: Wipe down the outside, paying special attention to fingerprints and dust on stainless steel surfaces.
Coffee Maker and Toaster
- Coffee Maker: Descale with a solution of water and vinegar, then run a couple of rinse cycles with water. Follow any specific manufacturer instructions for cleaning.
- Toaster: Empty the crumb tray and wipe the exterior. Removing built-up crumbs can significantly reduce fire hazards.
Step 2: Revitalize Kitchen Cabinets
Cabinets are prone to collecting grease, grime, and fingerprints. Over time, this build-up can damage finishes and even lead to lingering odors.
- Dust First: Always start by dusting cabinets from top to bottom to prevent dirt from turning into sticky mud during cleaning.
- Choose the Right Cleaner:
- For painted or laminated cabinets, use a diluted dish soap solution.
- For wood cabinets, opt for Murphy’s Oil Soap to protect the material.
- Use the Three-Towel System:
- Towel 1: Clean with the soapy solution.
- Towel 2: Rinse with plain water.
- Towel 3: Dry and buff for a polished look.
- Pro Tip: If your cabinets have an open top, line them with parchment paper after cleaning to make future upkeep easier.
Step 3: Deep-Clean the Refrigerator
Your refrigerator works hard daily and is often a hotspot for grime and food spills. Here’s how to clean it thoroughly:
- Empty It First: Store food in a cooler temporarily to prevent spoilage.
- Disassemble Components: Remove shelves, drawers, and bins and allow them to warm to room temperature before washing to prevent cracking.
- Soak and Scrub: Soak components in warm water mixed with dish soap and white vinegar. Scrub gently and rinse thoroughly.
- Clean the Interior: Spray a DIY vinegar-based cleaner (1 cup vinegar, 1 cup water, 1 teaspoon dish soap) on the interior surfaces. Scrub with a sponge, then rinse and dry.
- Don’t Forget Coils and Behind the Fridge: Dust and vacuum the coils (refer to your fridge’s manual for location), and clean behind the refrigerator to keep it running efficiently.
Step 4: Tackle the Oven
Ovens often require extra effort due to baked-on grime. Follow this process for professional results:
- Soak the Racks: Lay towels in your bathtub, fill it with warm water, and add a dishwasher pod. Let the racks soak to loosen grease.
- Clean the Interior: Spray an oven cleaner like Zep Oven and Grill Cleaner, let it sit for 30–60 minutes, then scrub with a sponge or razor scraper if needed.
- Natural Cleaning Option: A baking soda paste (baking soda + water) can be used as an alternative cleaner. It’s more labor-intensive but chemical-free.
- Finish Up: Rinse thoroughly, dry the interior, and scrub the racks before replacing them.
Step 5: Focus on the Dishwasher, Sink, and Countertops
Dishwasher
- Remove and clean the filter (most dishwashers have one).
- Use a brush to scrub crevices and seals.
- Run a cleaning cycle with a dishwasher tab to sanitize and refresh.
Sink
- Degrease with dish soap, then scrub with Barkeeper’s Friend for hard water stains.
- Finish with mineral oil (for black composite sinks) to restore shine.
Countertops
- Use a cleaner suitable for your material (e.g., dish soap for granite or quartz).
- Work in sections, rinse thoroughly, and buff dry for a clean, streak-free finish.
Step 6: Clean Walls, Baseboards, and Floors
Don’t neglect the surrounding surfaces in your kitchen:
- Walls and Baseboards: Dust first, then wipe with a solution of dish soap and water. For stubborn scuffs, use a melamine sponge.
- Floors: Sweep or vacuum thoroughly. Clean using a pH-neutral floor cleaner to avoid damage or sticky residue. Buff dry for a polished look.
Key Takeaways
- Start Small: Begin with small appliances like microwaves and toasters to build momentum.
- The Three-Towel System is your best friend for cabinets and other surfaces.
- Refrigerator Prep Matters: Always warm glass shelves and components before cleaning to prevent cracking.
- Soak and Scrub for Stubborn Grime: Oven racks, refrigerator parts, and even dishwasher filters benefit from soaking.
- Use the Right Cleaner: Match the cleaning product to the surface to protect finishes and ensure effectiveness.
- Work Top to Bottom: Clean surfaces like walls and counters before tackling floors to avoid rework.
- Break It Into Steps: Don’t overwhelm yourself – clean one area at a time over several days.
Final Thoughts
Deep-cleaning your kitchen doesn’t have to be an overwhelming ordeal. By following these proven techniques and working systematically, you can achieve a sparkling, sanitized kitchen that’s a pleasure to cook and live in. Whether you’re gearing up for spring cleaning or tackling it room by room each week, these strategies will set you up for success.
Now it’s your turn – grab your supplies, roll up your sleeves, and let the transformation begin! Your kitchen awaits its well-deserved refresh.
Source: "The Best Way To Spring Clean Your Kitchen" – Clean That Up, YouTube, Apr 11, 2026 – https://www.youtube.com/watch?v=TcfN0UhFc68
Recent Comments