
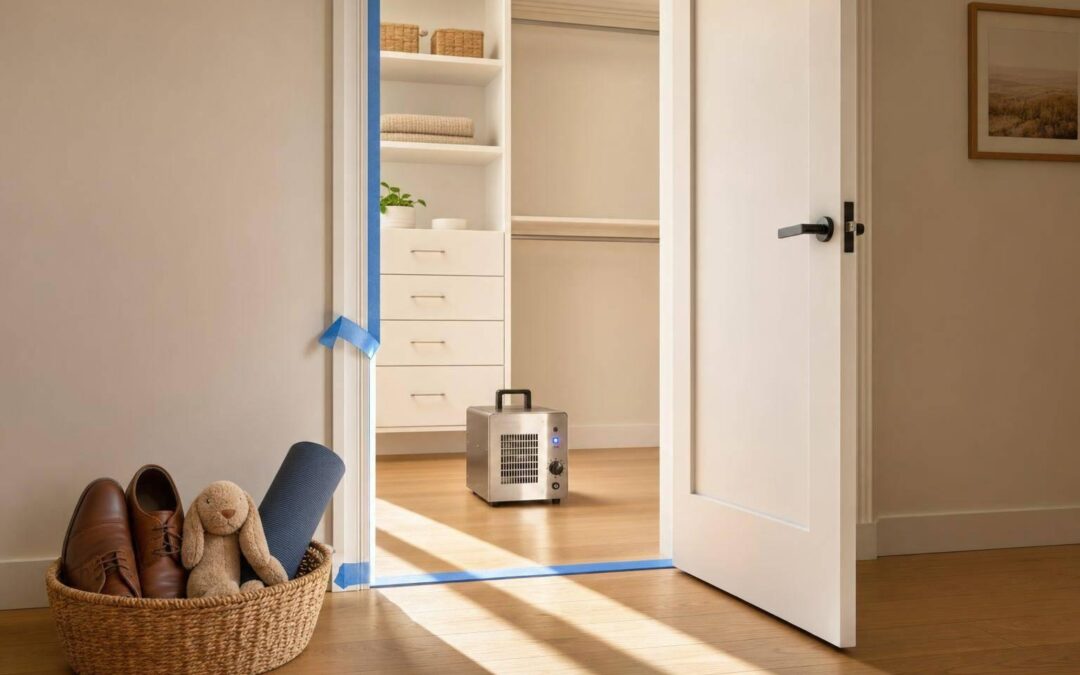
If I use ozone in a closet, I treat it like a short shock job in an empty, sealed space – not like an air cleaner. In a small closet, ozone can hit 10–20 ppm fast, which is why I focus on three things first: keeping people out, limiting run time, and venting before I go back in.
Here’s the short version:
- Ozone can help with musty, mildew, stale, sweat, and smoke odors because it oxidizes odor compounds instead of covering them up.
- I never run ozone in an occupied space. People, pets, and plants must stay out.
- Small closets need extra care because gas builds up fast in spaces like 48 to 240 cubic feet.
- Some items should come out first, especially latex, natural rubber, elastic, paper, photos, leather, and delicate fabrics.
- I keep the generator outside the closet and send ozone in through a hose when possible.
- After treatment, I wait and ventilate until the sharp ozone smell is gone before I reuse the closet.
- If the odor comes back, I assume the source may be mold, moisture, pests, decay, or spread into walls, carpet, or HVAC, so I use an odor source identifier tool or look at pro help.
A simple way to think about it: ozone can remove odor, but it can also harm lungs and damage some materials if I overdo it. So the job is not just “turn on a machine.” It’s seal, treat, wait, vent, and check.
| Topic | What I keep in mind |
|---|---|
| Best use | Short odor treatment in an empty, sealed closet |
| Main risk | Breathing ozone |
| Small-space issue | Levels climb fast |
| Items to remove | Latex, rubber, elastic, paper, photos, some leather/delicates |
| Re-entry | Only after full ventilation and no sharp odor |
| When DIY stops making sense | Odor returns, spreads, or points to mold/moisture damage |
If I want a safe result, I treat ozone as a controlled odor-removal step, not a casual home shortcut.
HOW TO REMOVE ODORS WITH AN OZONE TREATMENT
sbb-itb-5fea4da
Safety Rules Before Treating a Closet with Ozone
Ozone works because it reacts fast. That same trait is also what makes it risky. You should never inhale it. It can irritate and damage the lungs just as easily as it reacts with odor-causing compounds. So when you use ozone in a closet, the first job is containment, not turning the machine on.
Exposure Limits, Wait Times, and Ventilation Steps
Safe breathing limits in occupied areas are far lower than the levels used during ozone treatment. That means ozone should be used only in an empty, sealed closet. No people, no pets, no plants.
As researchers from UNC and NC State‘s Joint Department of Biomedical Engineering put it:
"Ozone is a lung irritant and can be dangerous to humans, animals, and plants."
Run ozone only in an empty, sealed closet, then ventilate before re-entry. After treatment, keep the closet closed until ozone has dissipated according to optimal treatment times, then ventilate thoroughly before use.
How to Isolate the Closet During Treatment
A simple way to do this is to keep the generator outside the closet and send ozone inside through a hose adapter. That helps limit direct exposure and keeps the treatment area contained. Once the closet is isolated, the next step is matching equipment and material protection to the treatment.
Equipment, Closet Size, and Material Risks
After isolation, the next step is picking the right equipment and protecting anything ozone can damage. Get this part wrong, and treatment can fall flat – or worse, ruin what’s in the closet.
Choosing an Ozone Generator for Your Closet Size
Start by calculating the closet’s volume in cubic feet: length × width × height.
A 6 ft × 5 ft × 8 ft walk-in closet comes out to 240 cubic feet. A reach-in closet that measures 3 ft × 2 ft × 8 ft is only 48 cubic feet. That gap matters, because closet size affects generator sizing.
Set the generator outside the closet and feed ozone in through a hose or ducting. That setup helps you treat the space without putting the unit inside it. Also, make sure the closet is fully dry before you begin. This is critical because of how ozone eliminates pathogens more efficiently in low-humidity environments. Dry air helps the generator produce ozone more effectively and puts less strain on the unit.
Once you’ve matched the generator to the space and confirmed the closet is dry, check the contents before treatment.
What to Remove or Protect Before Treatment
Some materials don’t handle ozone well at all. Latex, natural rubber, and elastic items should come out before treatment. Latex breaks down fast under ozone. Natural rubber and elastic can also degrade with exposure.
Use this table as a quick pre-treatment check:
| Material | Ozone Sensitivity | Risk Over Repeated Treatments | Recommended Handling |
|---|---|---|---|
| Natural Rubber / Latex | High | Cracking, loss of elasticity, structural failure | Remove or seal in airtight containers. |
| Elastic Components | Moderate | Loss of stretch, fiber degradation | Limit to minimum exposure time. |
| Most Synthetics | Low | More resistant to ozone | Hang for full exposure. |
| Leather / Delicate Fabrics | Moderate to High | Dye changes or surface oxidation | Test before full treatment; remove if unsure. |
| Paper / Photos | Moderate | Ink and fiber oxidation | Remove or seal in protective sleeves. |
After you’ve removed or protected sensitive items, prep the closet itself.
Hang garments instead of leaving them folded or stacked. More exposed surface area means better ozone contact. And if you’re dealing with leather, delicate fabrics, or anything unfamiliar, test a small item first before treating the whole closet.
Once the closet is sized and cleared, move to prep and treatment.
Step-by-Step Closet Ozone Sanitization Process
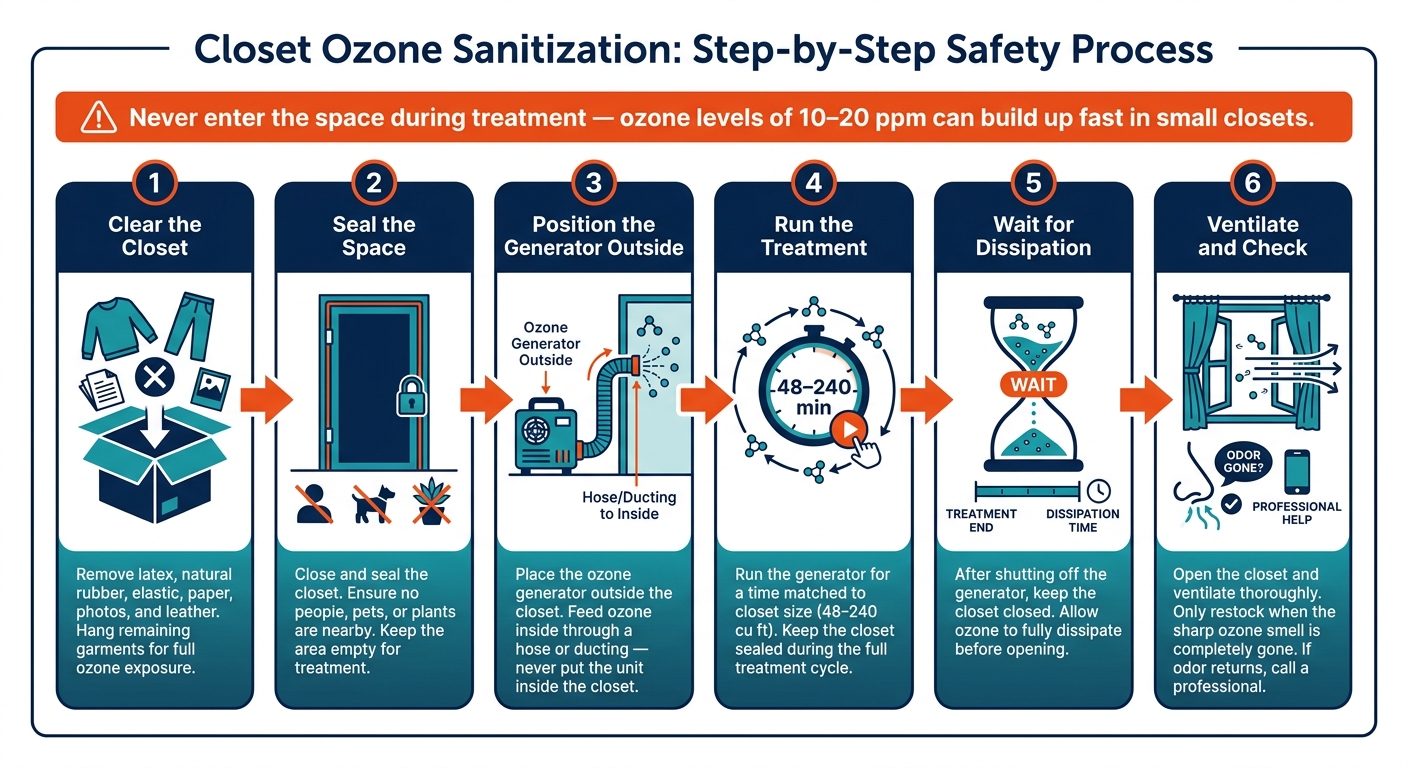
Closet Ozone Sanitization: Step-by-Step Safety Process
Once the closet is cleared and the generator is sized, follow this sequence.
How to Prep the Closet Before Treatment
After removing sensitive items, close the closet. Keep it empty and sealed for treatment.
Once it’s sealed, start the treatment to remove home odors.
How to Run the Treatment Safely
Run the generator for the amount of time that matches the closet size. Then shut it off and keep the closet closed while the ozone dissipates.
After the treatment cycle ends, ventilate the space before opening the closet for normal use.
How to Wait, Vent, and Check Before Normal Use
Open the closet and ventilate it thoroughly. Don’t restock it until the ozone smell is gone. If any sharp odor remains, keep venting.
If the odor still lingers after ventilation, the problem may need professional treatment.
When to Call a Professional and Key Takeaways
Situations That Call for Professional Ozone Service
DIY ozone can work for a small, sealed closet with a simple odor issue. But when the smell sticks around or starts spreading, you’re usually dealing with more than a closet problem.
If the odor comes back after ventilation, that’s often a sign of a bigger source, such as mold or moisture inside or around the space.
Call a professional when:
- The odor returns after treatment, which usually signals mold or moisture
- Smoke or fire damage affects more than one room
- The odor suggests pests or decay
- Contamination has spread to walls, carpet, or the HVAC system
At that point, doing it yourself can cost more than it saves. If the source isn’t fully treated, or if you go back in too soon, the risk goes up. That’s where a controlled professional treatment is the safer choice.
In Chicagoland, Ozonated Cleaning LLC provides professional ozone- and hydroxyl-based odor removal for homes, vehicles, RVs, and boats.
What a Professional Ozone Service Covers
Professional ozone service usually starts with a site assessment, followed by careful equipment placement and a treatment plan sized for the full affected area. That matters because ozone can build up and linger in small enclosed spaces longer than people expect.
Professional units produce higher output and treat odors faster than consumer models, with more control during the process. Pros are also better equipped to handle larger affected areas, stronger odors, safer re-entry, and protection for sensitive materials.
And here’s the part people often miss: DIY savings can disappear fast if ozone-sensitive items are left inside and get damaged.
Use DIY ozone only for small, sealed closet odors. If the smell returns, spreads, or points to damage, bring in a professional.
FAQs
How long should I ozone a closet?
It depends on how strong the odor or contamination is.
For light odors, treatment often takes 30 minutes to 2 hours. More serious cases, like deep smoke or stubborn mold, can take 4 hours or more.
During treatment, the closet should be empty. That means no people, pets, or plants inside or nearby.
After the ozone generator shuts off, give the space time to clear out. In most cases, wait at least 2 to 4 hours for the ozone to dissipate. A good rule of thumb is 3 to 4 hours of off-gassing for every hour the generator was running.
Can ozone damage clothes or shoes?
Yes. Ozone is highly reactive, and that can be hard on clothes, shoes, and other materials. If items stay exposed for too long, rubber may crack, and some fabrics and electronic parts can start to wear down over time.
To help protect your belongings, remove or cover items that may be sensitive before treatment. It also helps to stick to the recommended treatment time. If you’re worried about delicate items, Ozonated Cleaning LLC can help reduce those risks.
How do I know when it’s safe to reopen the closet?
Reopen the closet only after the ozone has fully cleared and the space has been aired out well.
A good rule of thumb is to wait at least 2 hours after the cycle ends. In some cases, based on the closet’s size and how long the machine ran, clearance can take 2 to 24 hours.
Once you’re ready to air it out, open doors or windows and run fans for 30 to 60 minutes. If you can still smell ozone, do not go back in yet.
For an extra safety check, use an ozone meter. Re-enter only when the reading is 0.05–0.08 ppm or lower.
Recent Comments